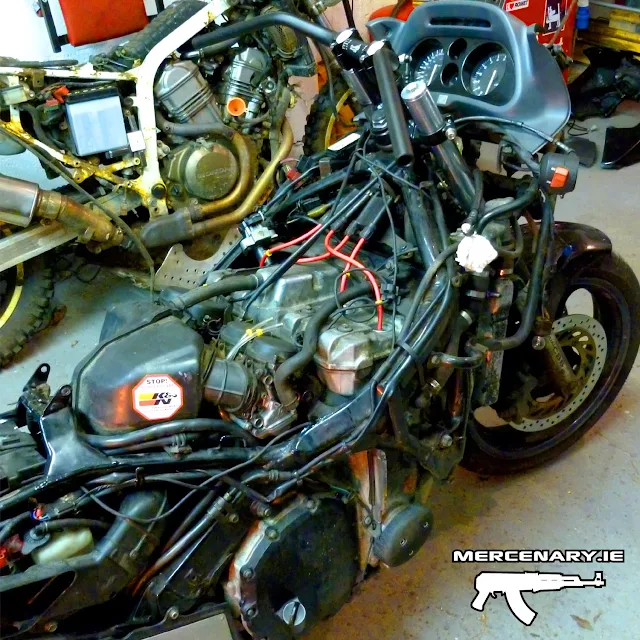
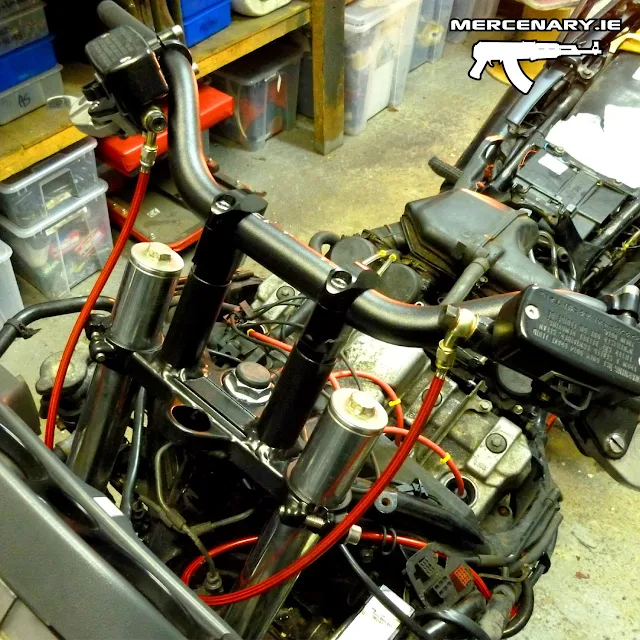
So, welding the risers onto the top-yoke and fitting the handlebars was relatively easy.
Extending the control cables was much more convoluted. Firstly, the windscreen, nose fairing, side-panels and fuel-tank had to be removed.
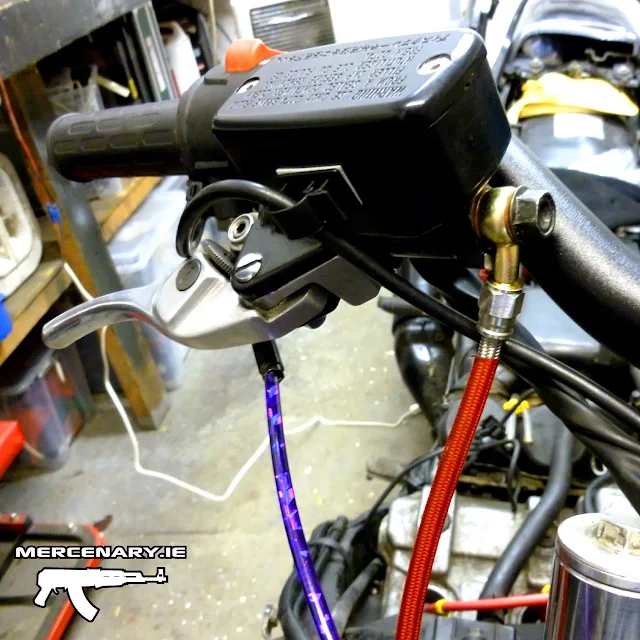
Fortunately, I was able to reuse the choke cable by simply re-routing it. However, the throttle cable was already at a stretch when I fitted the VFR750 clip-ons and so I had to make up a new throttle cable, using the hardware off the old one. This is a relatively easy process. See...
The hydraulic clutch and brake lines were also at maximum stretch before the conversion and so I needed to make up new ones. And due to the convoluted nature of the Dual Combined Braking System, I also had to make a third line to connect the left and right front brakes.
Luckily, Honda seemed to have considered the possibility that users might want to make this conversion - the wiring from the handlebar controls had additional length built in. Extending the length of these wire by wire was something I wasn't looking forward to...
On balance, this isn't a particularly easy or cheap conversion. The cost, including the aluminium welding, the Fat Bars and Clamps and the cost of the brake and clutch lines was in the region of €250 and there was at least a day's labour involved.
Was it worth it? Time will tell, but based on the short journey I made last night, I'd say so. The new riding position can best be described as... Stately.
Part 1 of this article is... Here

 |
| New candy-red stainless steel brake-line and My-Little-Pony throttle cable. |
 |
| New brake and clutch lines. |
 |
| The clearance between the windscreen at full lock is tight, but with a bit of adjustment, nothing touches. |


#CBR1000F #Mercenary #MercenaryGarage


No comments:
Post a Comment
Leave a Comment...