So Ev picked up some second-hand bull-bars and today we fitted them to his van. The process was straightforward but required some fabrication and a fairly high degree of precision...
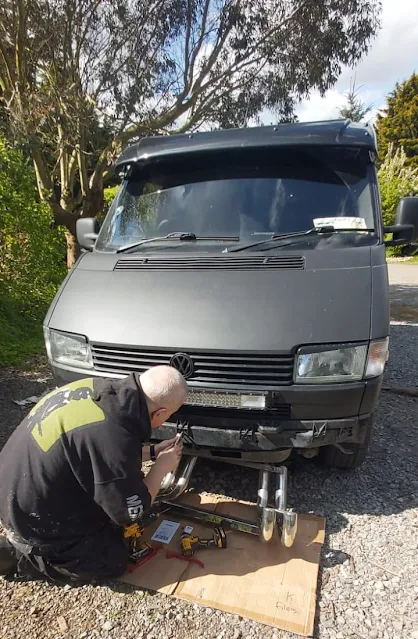 |
| Taking off the various layers of plastic that make up the bumper. |
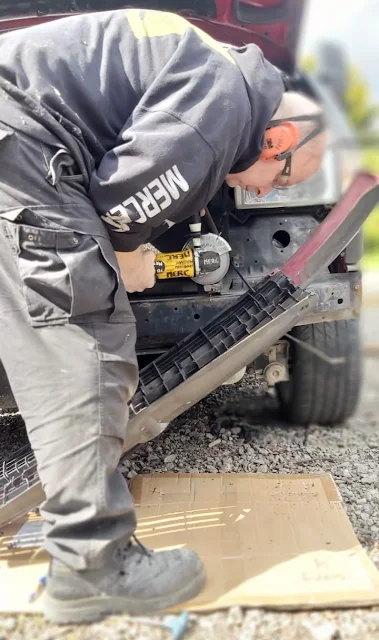 |
| There were some tabs in the way and ain't nobody got time fo' that! |
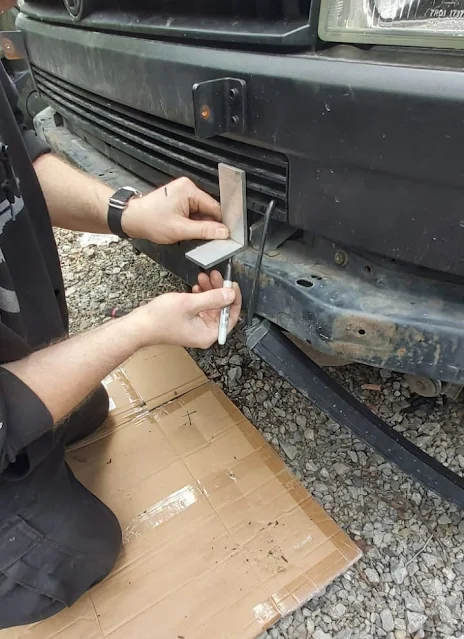 |
| 1/4" ally angle L-brackets. |
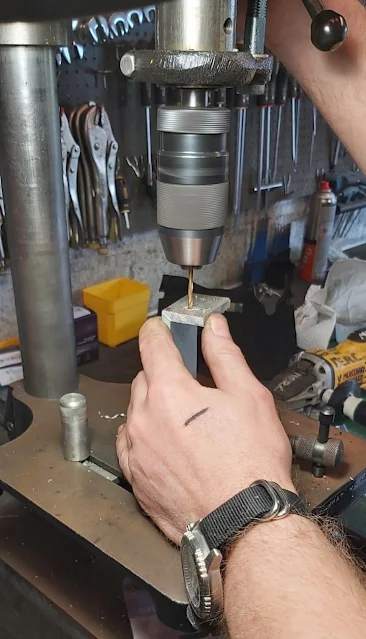 |
| Drilling mounting holes in the bottom of the L-brackets. |
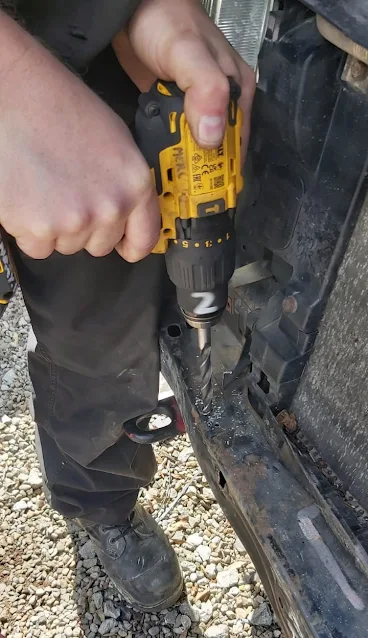 |
| Drilling the front cross-member to accept rivnuts. |
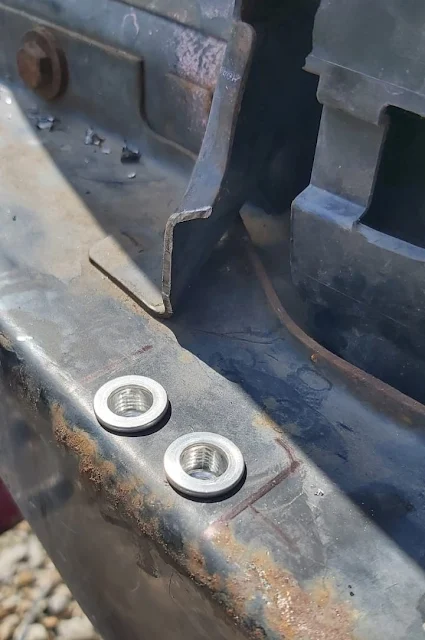 |
| M8 Rivnuts set in situ. Note the cut-down tab behind. |
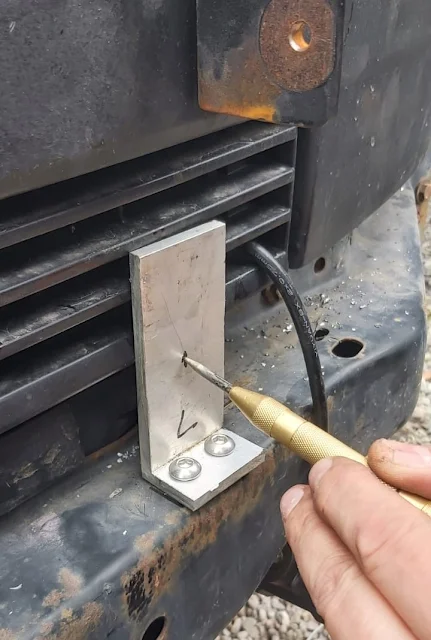 |
| With the L-brackets fixed to the cross-members, the bull-bars were offered up and the mounting positions marked. |
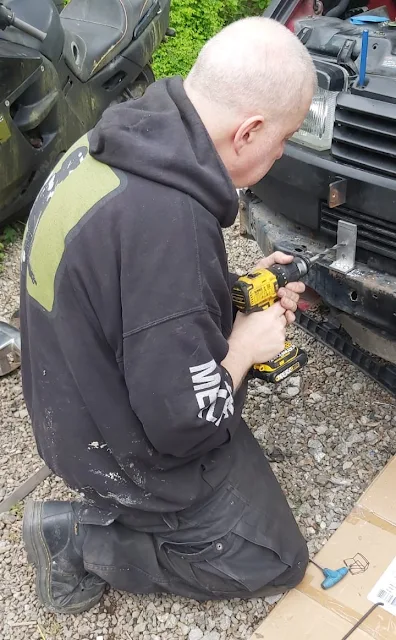 |
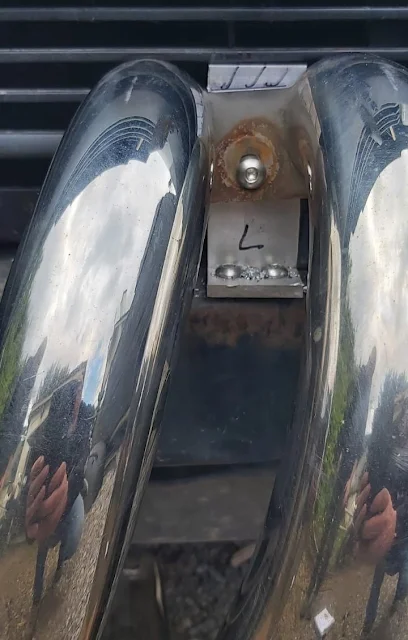
| The L-brackets were drilled out to accept M8 rivnuts. |
 |
| The bull-bars were bolted up and attention was shifted to the lower mounts. |
 |
| The lower mounts engage directly with the belly-pan, so it was a simple process of marking the position on the belly pan and drilling it to accept two more rivnuts. |
 |
| Meanwhile back in the 'shop, the Buell refurb is nearing completion. |
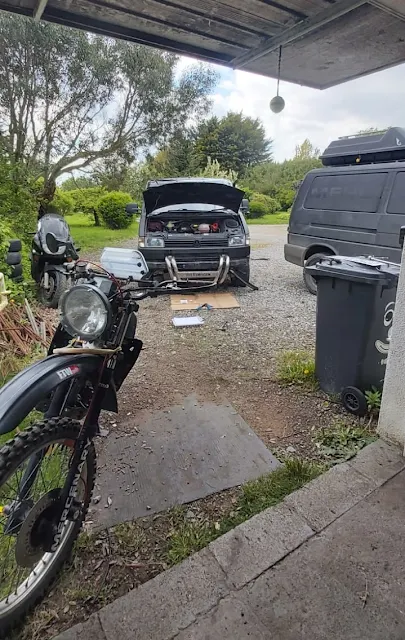 |
| The view from the 'shop. |
 |
| Made a new friend! |
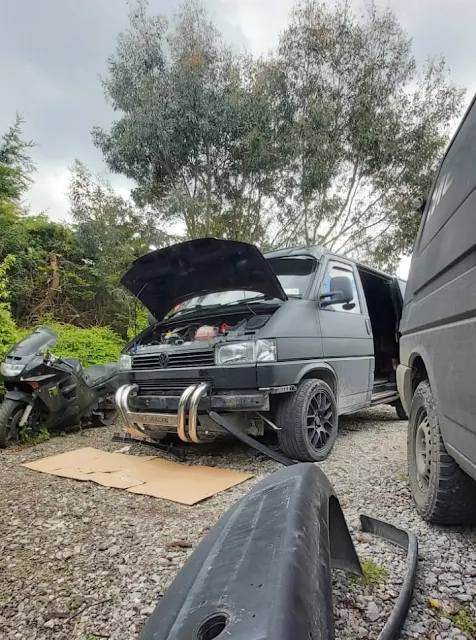 |
| Work in progress... |
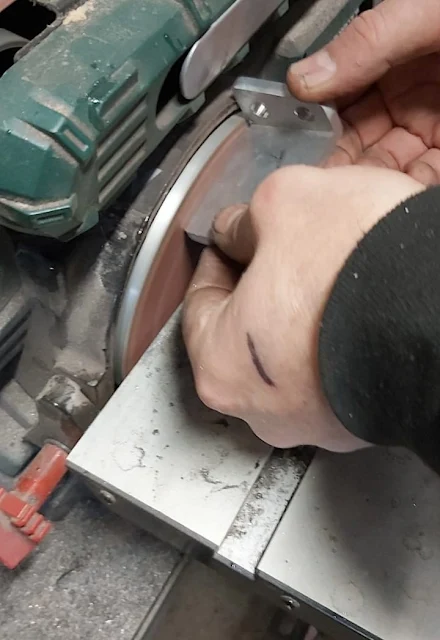 |
| Excess material was removed from the L-brackets, and the edges and corners were rounded off for safety. |
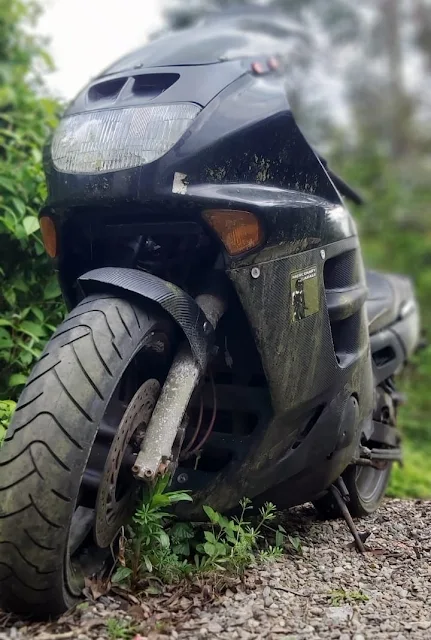 |
| Big Honda still languishing in the weeds. |
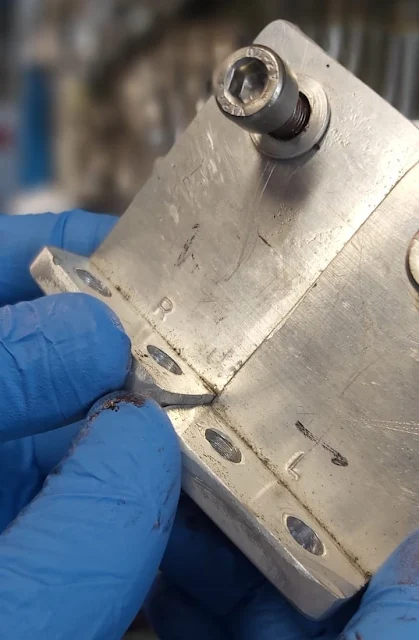 |
| The two finished L-brackets, marked L & R. |
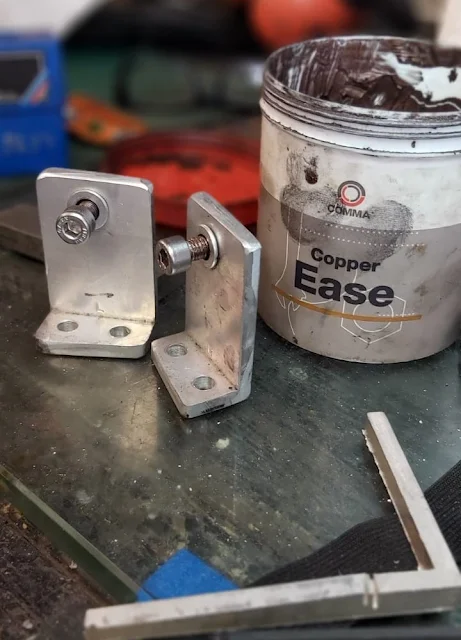 |
| When fitting stainless steel hardwear to aluminim rivnuts, it's important to use anti-seize compound to prevent the threads cold-welding together. |
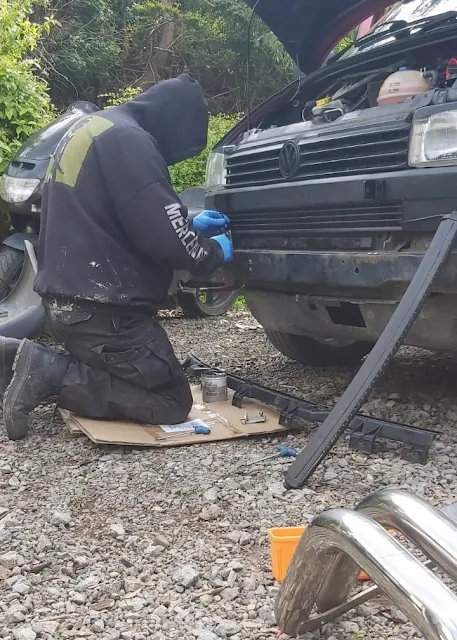 |
| Putting it all back together. |
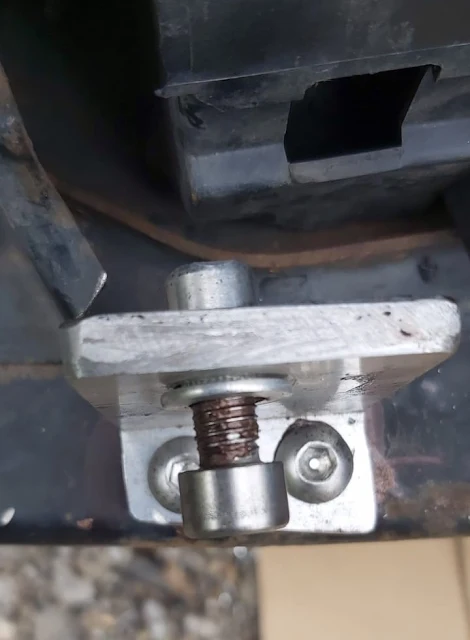 |
| L-bracket in situ. |
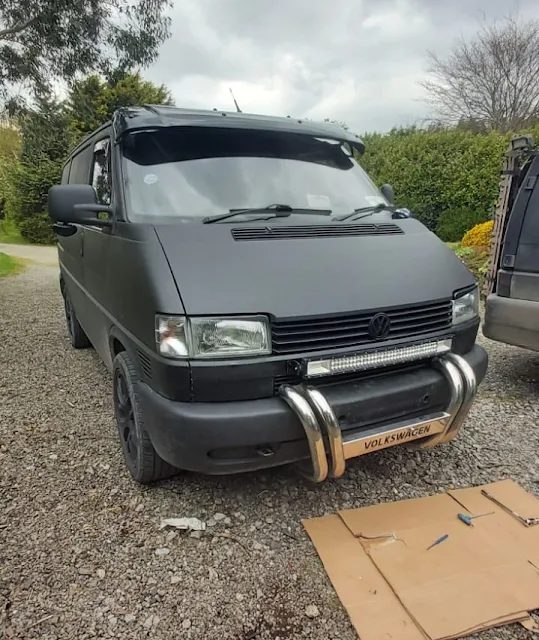 |
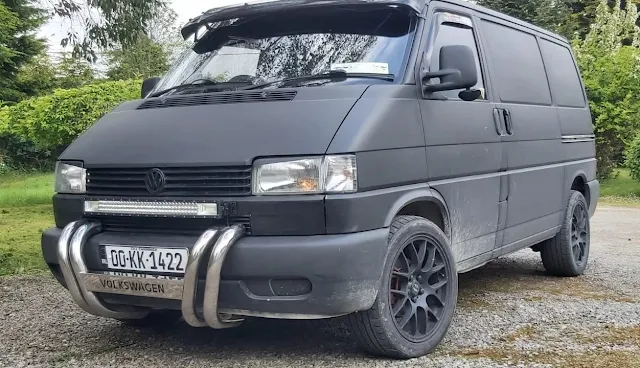
| The finshed install. Don't expect that shiny metal finish to last long... |
Images - Ev
#VWT4 #T4Transporter #TransporterT4 #VWTransporter #MatteBlack #TacticalVan #BugOut #BugOutVan #BugOutVehicle #ZombieVan #MercenaryVan #Mercenary #MercenaryMotorcycles #MercenaryGarage

Yeah !!!
ReplyDelete